
Installing a WordPress Theme Through the Theme Directory
Installing a WordPress theme can improve the look and performance of your website. The theme directory on WordPress allows you to search for and install a free theme for WordPress.
1. Log in to your WordPress account.
To begin, log in to your WordPress account.
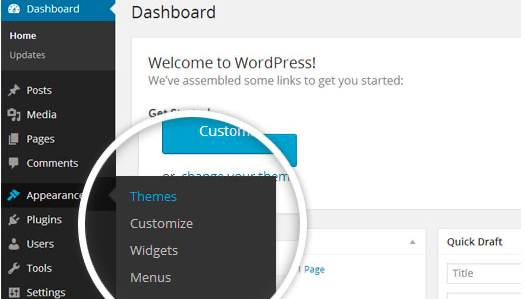
2. Navigate to Appearance > Themes.
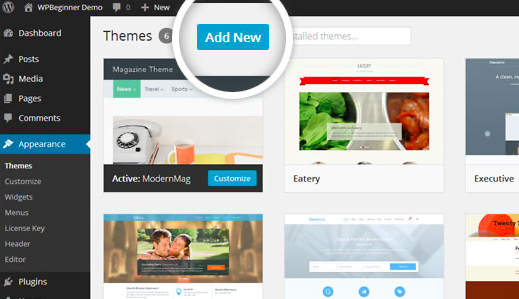
On the menu on the left side of the dashboard, hover your mouse over Appearance, and select Themes within that option box.

3. On the Themes page, select Add New at the top of the page.
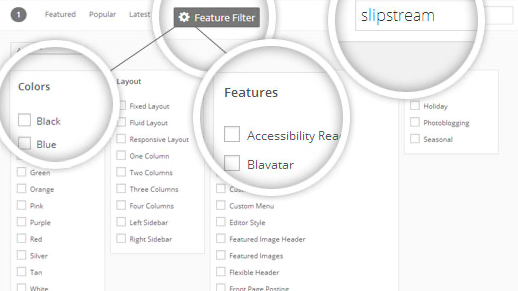
4. Choose a theme.
After clicking on the Add New button, you can select from featured themes, popular themes, or latest themes. You can even search for themes with specific features, such as themes with sticky posts or full width templates; layouts, such as grid layouts or two-column layouts; and subject, such as blogs, eCommerce, or photography.
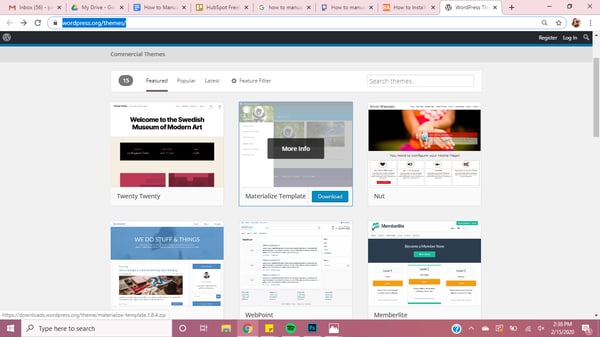
5. Click Download to begin the installation process.
When you've chosen a theme, hover over the preview image of the theme. You'll have the option to click More Info to learn about the theme's features and preview the theme, or you can click Download to begin the installation process.
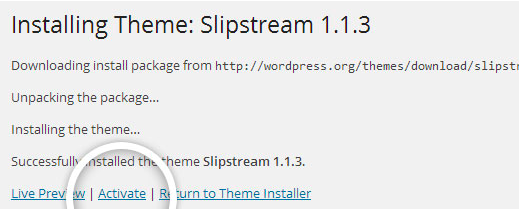
6. Click Activate once complete.
The theme will take a few minutes to install. After installing, you'll receive a message that the installation was successful. But the theme isn't live on your website just yet! Be sure to select Activate for the theme to appear on your site.
Installing a WordPress Theme Using the Upload Method
If you have found a premium or custom theme from a third-party, you can easily upload it using the WordPress dashboard with just a few steps:
1. Ensure you have the .zip file for the theme you want.
First, download the .zip file you bought in the theme marketplace or commercial provider.
2. Navigate to Appearance > Themes.
Then, log in to your WordPress account and go to Appearance in the menu on the left of the dashboard and select Themes.
3. On the themes page, select Add New at the top of the page.

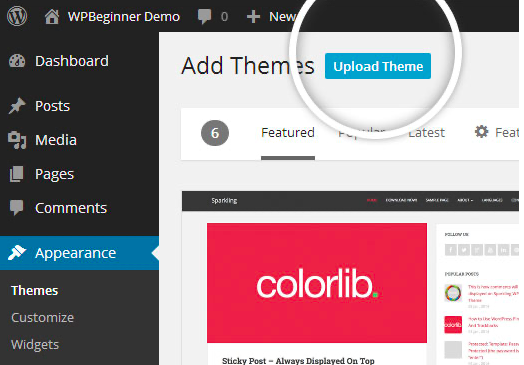
4. After clicking on the Add New button, select the Upload Theme button.
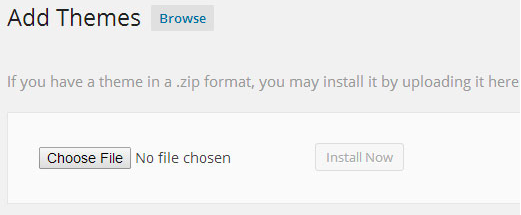
5. Upload and install the file.
After selecting Upload Theme, click Choose File. Select the theme .zip folder you've downloaded, then click Install Now.
6. Click Activate once complete.
After clicking Install, a message will appear that the theme installation was successful. Click Activate to make the theme live on your website.
Comments
Post a Comment