How To Create Sticky Headers With Elementor

How to Create Sticky Headers with Elementor
Sticky headers allow a website user to have access to the page’s header and menu section, no matter how much they scroll down.
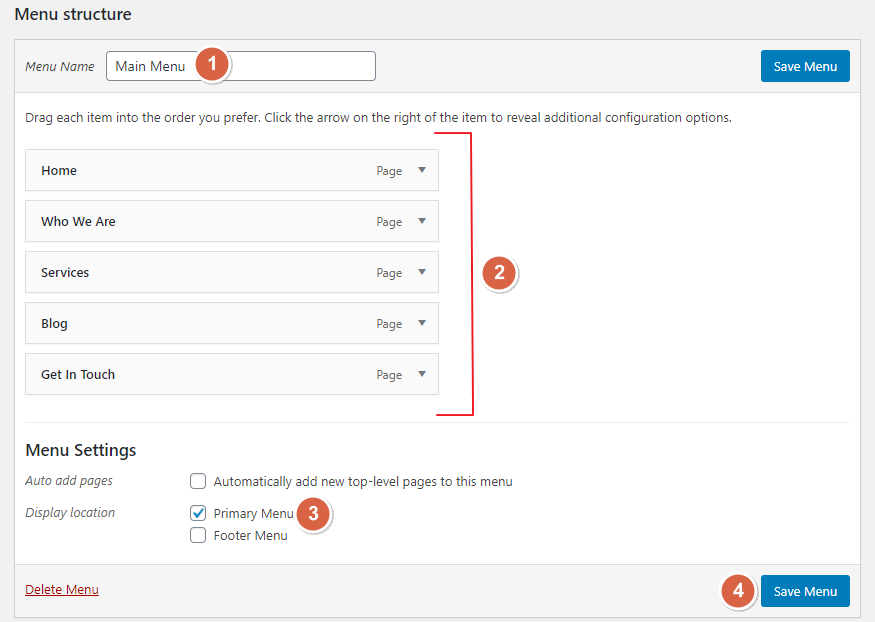
Step 1: Creating Your Menu
To add a sticky header to your website first, you need to create Main Menu in your wp-admin > Appearance > Menus. Add the section you want to show in the header.
Step 2: Creating Your Header In Elementor
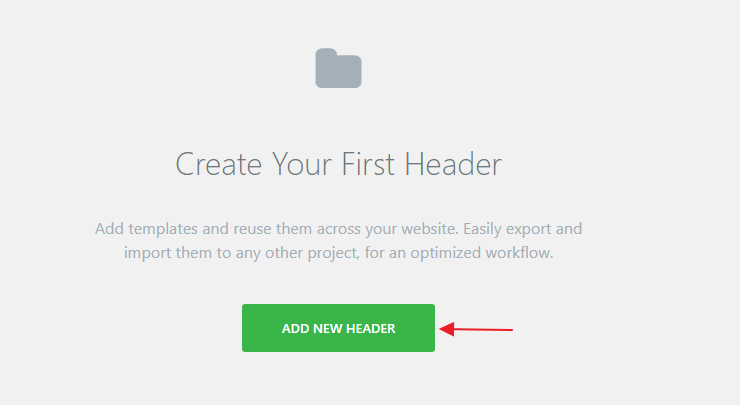
After creating the main menu, go to Elementor Templates > Theme Builder. In theme builder page select Header section and click on “Add New Header”.

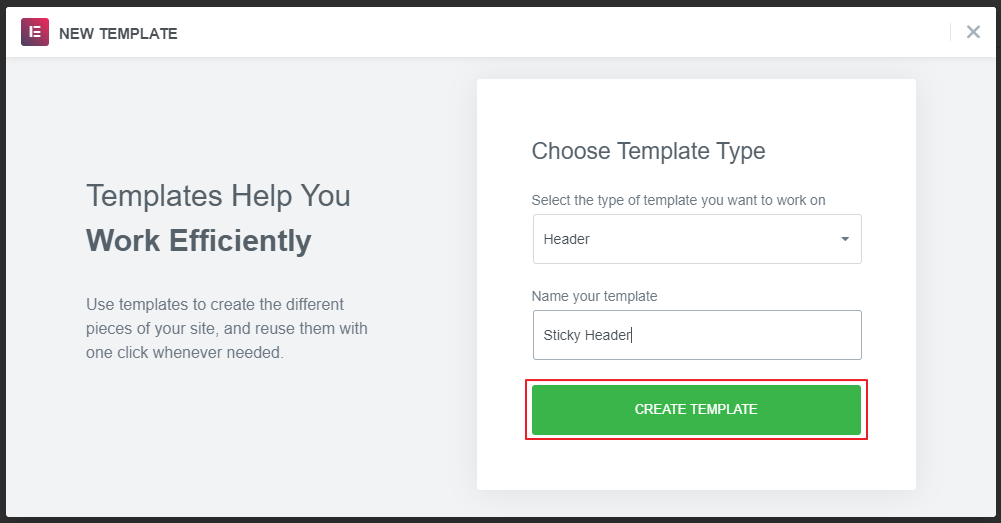
On the pop-up screen, give a name to the header template and click on “Create Template”.
After that, you’ll be redirected to the Elementor editor page. Here you can choose a pre-built header template or create your own from scratch.
For this guide, we’ll be creating our Elementor sticky header from scratch.
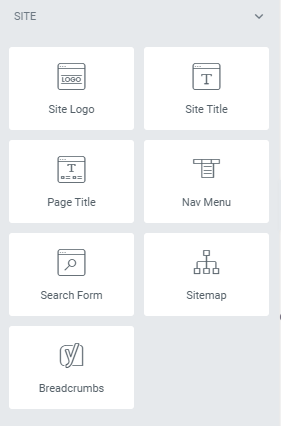
Before we start creating a template, you can see some header widgets in the Elementor editor. Using these sections we can create a header quickly and easily.
Step 3: Creating a Header Template in Elementor
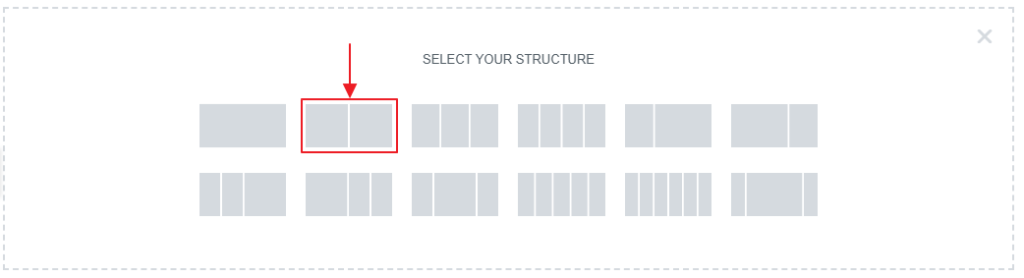
Add a two-column structure. Make sure that the content width of the section is “Boxed”.

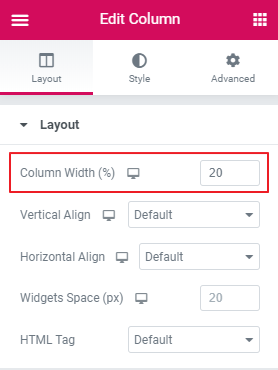
Under the “Edit” Column set the first column width to 20%.
Now add your website’s Site Logo to the first column, and select left alignment.
In the second column, add a Nav Menu and select the main menu you created in step 1. Align the Nav Menu to the right-hand side.

For this guide, we’re creating a simple header. You can create a more detailed design for your header by adding a background color, hovering animation effects, buttons and more.
Step 4: How to Make Your Elementor Header Sticky.
After creating our basic Elementor header, it’s now time to make it a Sticky header.
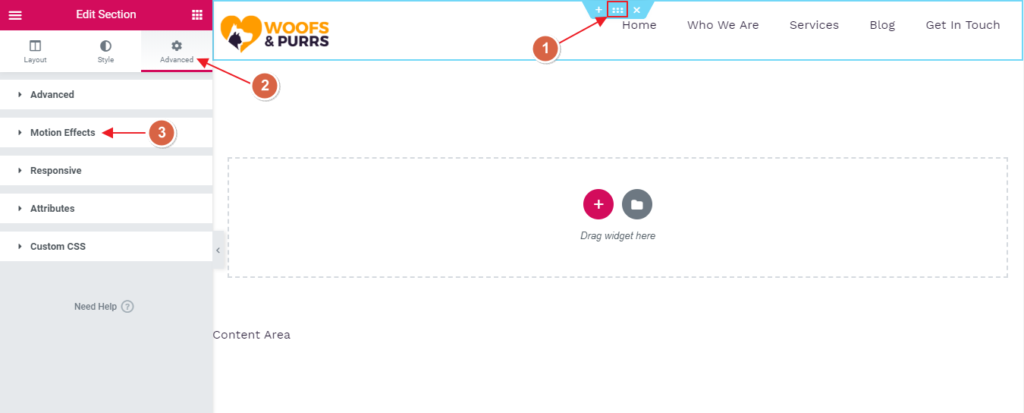
To do this, click on the Edit section (Whole header section). Go to Advanced > Motion Effects.
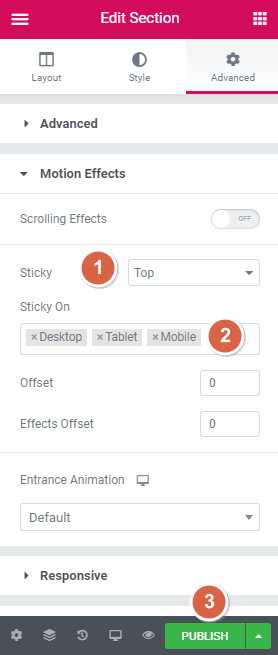
Under motion effects, select “sticky to the Top” and select the “devices” where you want to show sticky header and hit on the “Publish” button.
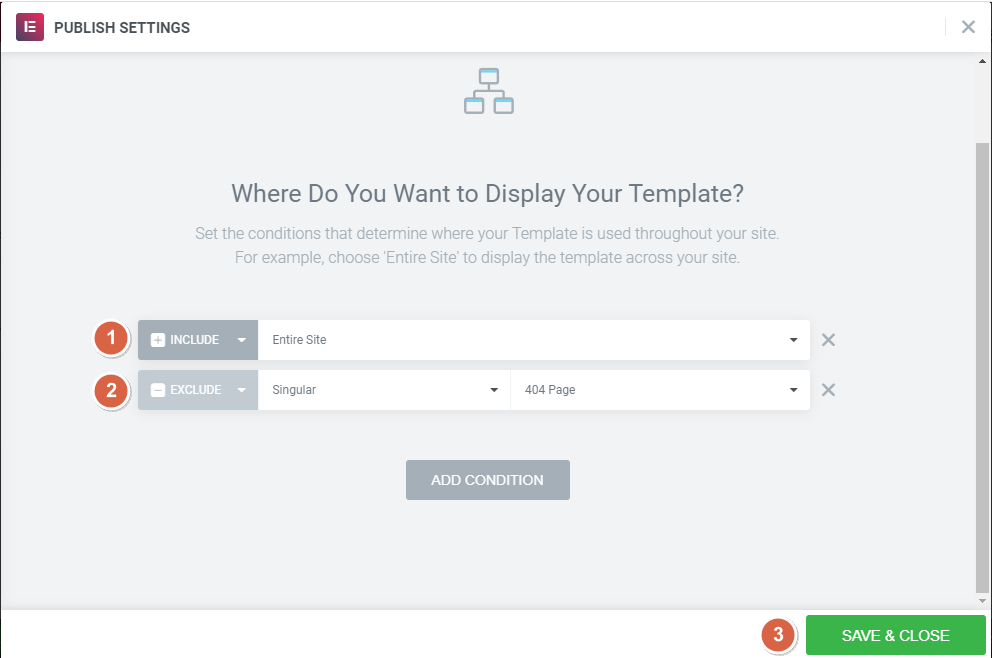
After publishing, Elementor asks you to Add a Condition for your header. Basically, by adding conditions you can show header wherever you want on the site.
Here we wanted to show this header on the entire site, excluding the 404 Page. So, we included the Entire Site in the dropdown and excluded 404 Page.
As you can see creating your custom Sticky header with Elementor is both quick and painless!
Comments
Post a Comment